- Published on
International Nodebots Day
Today I got to play with hardware at an International Nodebot Day event put on by NodeJS Houston.
It was a lot of fun, and I was surprised by how much got accomplished in less than a day. I used a Tessel2 board from Sparkfun, which comes with linux and Node.js installed. The best thing about the Tessel2 is how quickly you can go from having just parts to having a working project.
Unlike the Raspberry Pi and other boards, there is no lengthy initial install process. The OS is pre-installed. The client installs via a single line of code using NPM. Likewise, getting wifi connection up and running, so you can push code without a wired connection, is a single line of code.
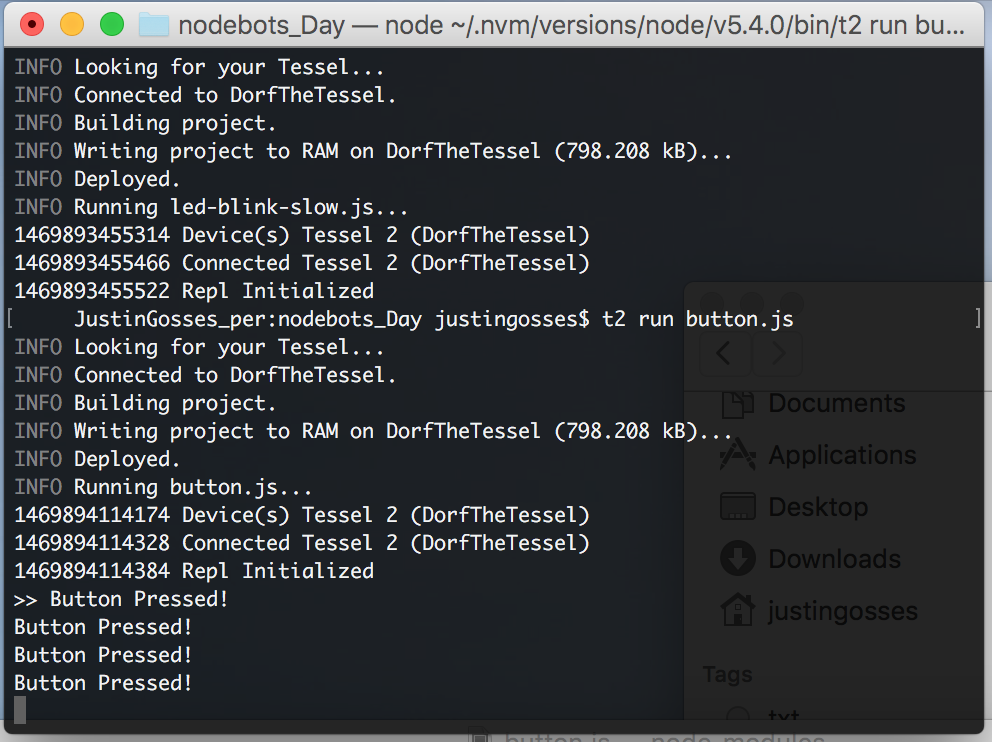 Screenshot of the installation process running.
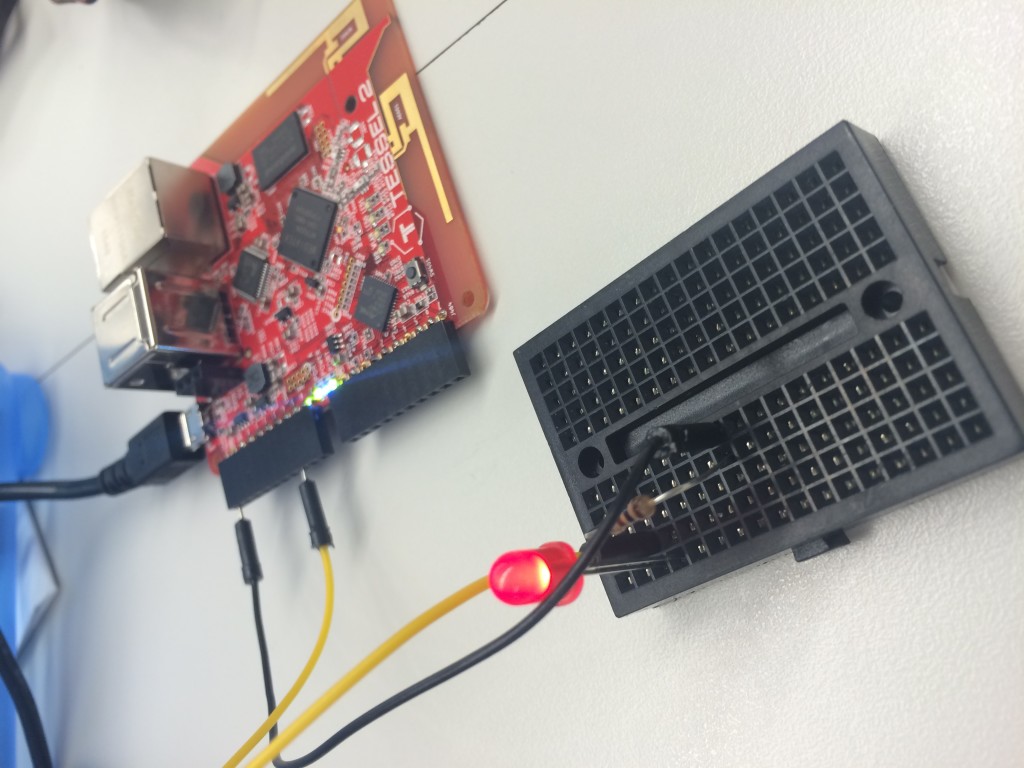 The Tessel board.
Sumobots!
After several smaller projects to practice writing and deploying code for the Tessel2, we build our main project, a sumobot. At the end of the day, there was a bot vs. bot bracket competition.
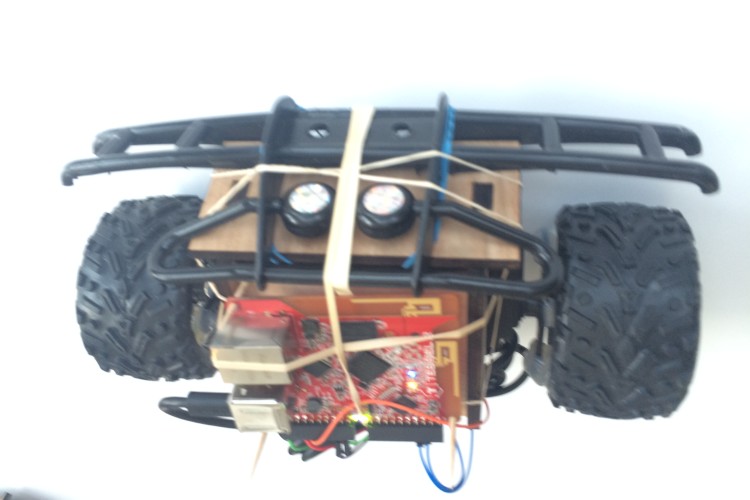 My sumobot. It might have won ugliest sumobot had that been a category.
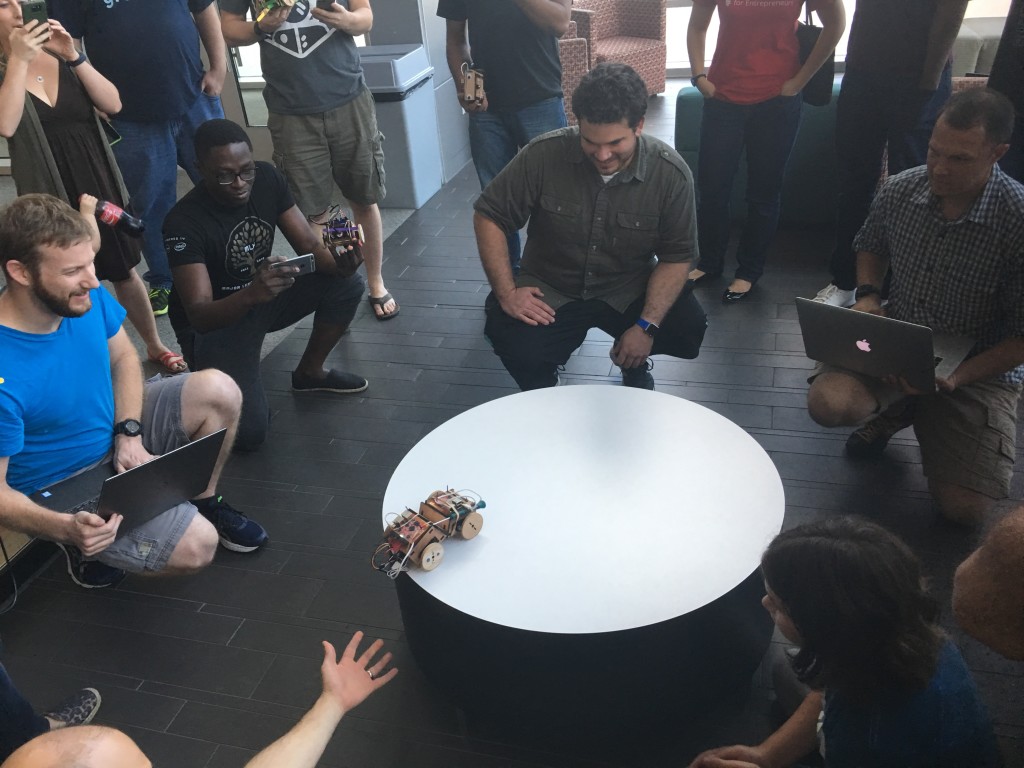 A sumobot trying not to run off the table.
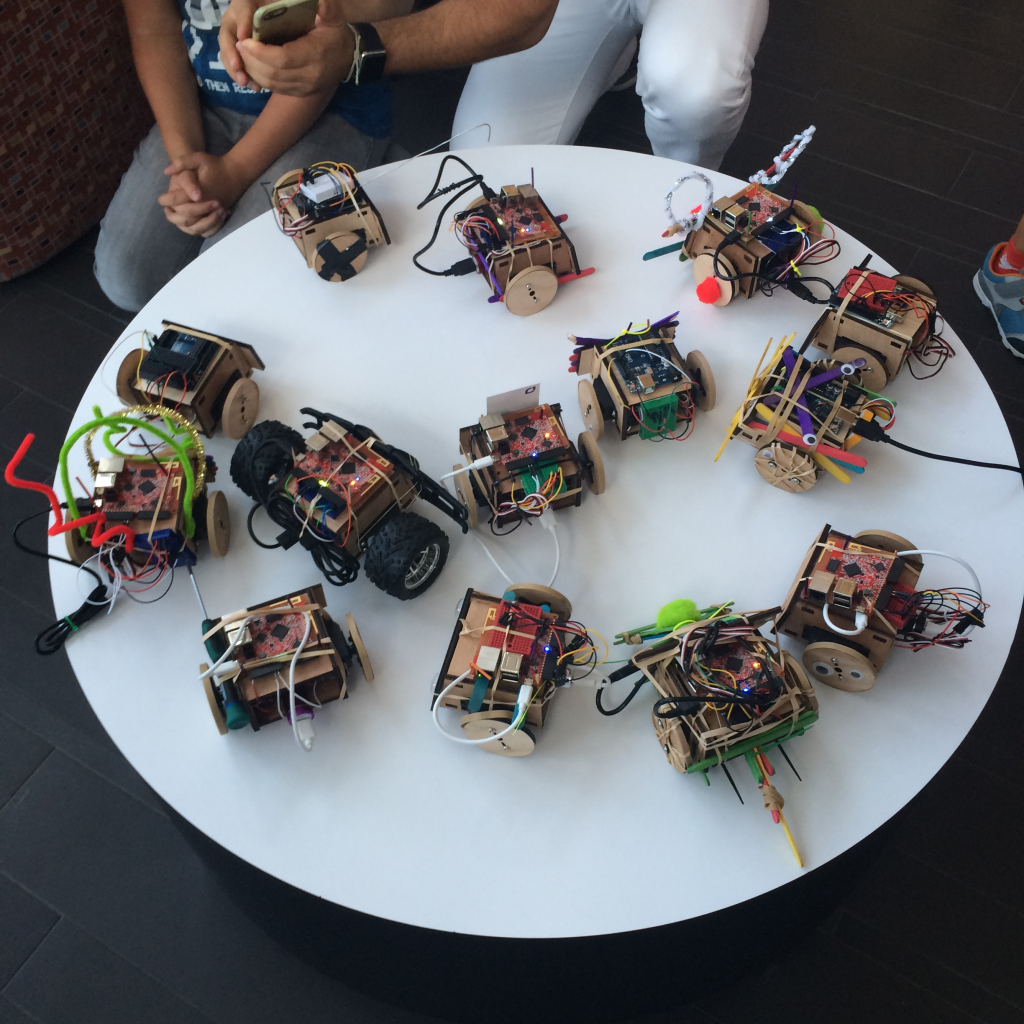 All the sumobots that took part in the bracket competition.
Instructions
The following instructions should be all the information you need to try out a few small projects and then build a sumobot.
- Sparkfun sells a kit that looks to be everything I got at nodebots day and a extra pieces.
- Slides and code by Donovan Buck, who is also a contributor to Johnny-Five. These were presented by Don at the nodebot event and contain information on getting started with the Tessel2. Small code snippets for projects using LEDs and Temperature Sensors are included, as well as some of the information needed to make a sumobot.
- The Johnny-Five JavaScript library is used for a variety of boards, including the Tessel2, to control components and sensors using simple and short Node.js commands. The name, of course, comes from the main character of the awesome 1980s robot movie, Short Circuit. The JavaScript files in the Don's presentation use Johnny-Five.
- 'Getting started' instructions from Tessel. These are an additional reference point to what is in Don's slides.
- For the Sumobot control, I ended up not using the code linked to at the end of Don's slides, but rather a repo but together by Ryan Gill, who was at the event. I found Ryan's code was easy to get running.
- To install & run Ryan's sumobot code, I followed these steps (Note: Node.js latest stable version, Tessel2 client, wifi connection, and wifi access point have already been installed and are running based on Don's code in the first link):
1. Clone the directory: git clone https://github.com/ryanjgill/sumobot.git
2. CD into that directory.
3. In the terminal, type "npm install" while inside the directory to install dependencies.
4. Type "t2 run index.js", which should start the program running.
5. At some point in the terminal, you should see "Server running at http://172.###.###.###:3000", which is your bot's IP and the port the webpage will be running on. Keep that information, you'll need to put that in the browser later to control the bot.
6. Now you should push the code, so that it runs when the Tessel is not connected to your computer by USB. Type, "t2 push index.js" into the terminal. After it finishes loading, unplug the USB, switch to onboard battery power, and wait for the board to reboot and wifi to connect.
7. After the blue light on the left side of the tessel2 board is solid blue and the light in the ethernet plug area is solid green, change your computer or phone wifi to be the wifi access point of the bot. (Starting the wifi access point was a previous step described in Don's slides mentioned above.) Navigate to the IP address and port from step #5 in your browser of choice. You should see a website that your bot is serving to you through the wifi connection. There will be buttons for forward, reverse, right, and left. Clicking on these buttons will trigger the JS code running on your bot and your bot will move.